
Java Your First Program
Learn to write and execute your first Java program using IntelliJ IDEA in this step-by-step tutorial

Software Developer
In this Java tutorial, you're going to learn how to write and execute your first Java program. Let's get started with IntelliJ IDEA.
Steps to Set Up a Java Project
Start IntelliJ IDEA and Create a New Project
Open IntelliJ IDEA and click on “Create New Project.”
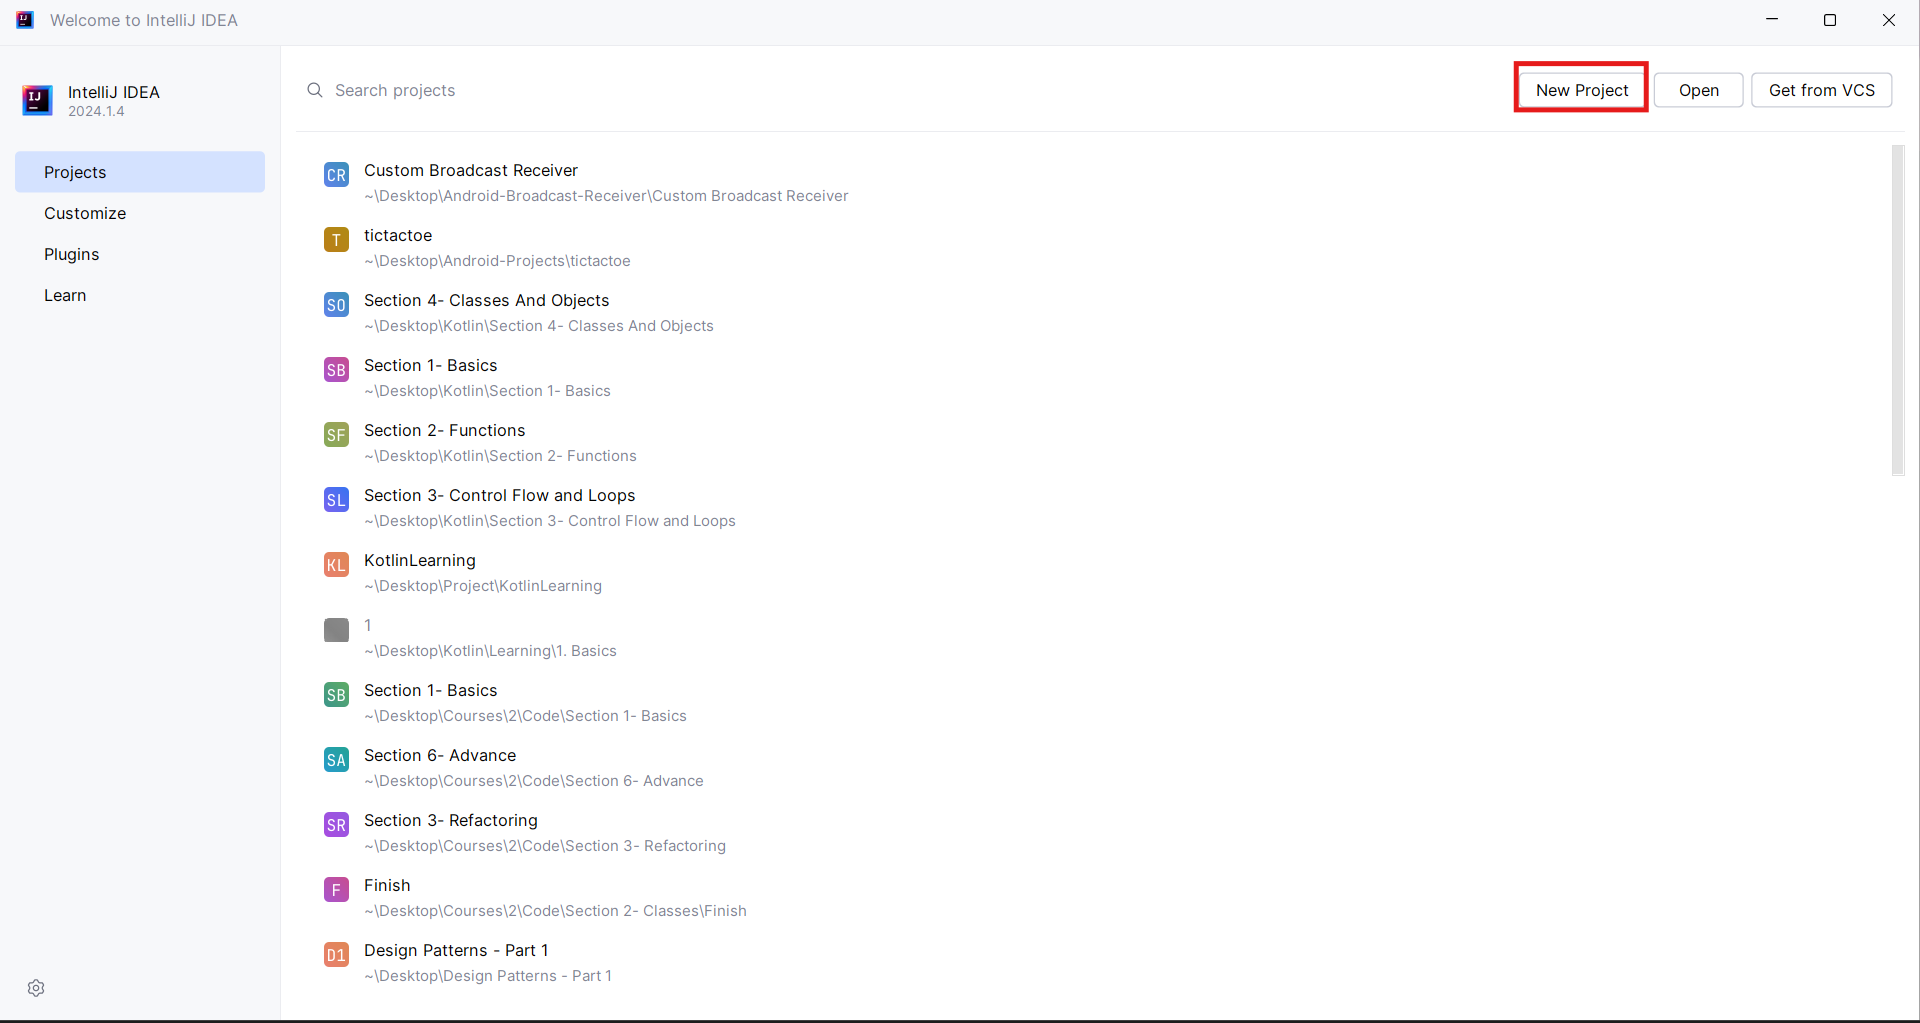
In the left pane, choose “Java.”
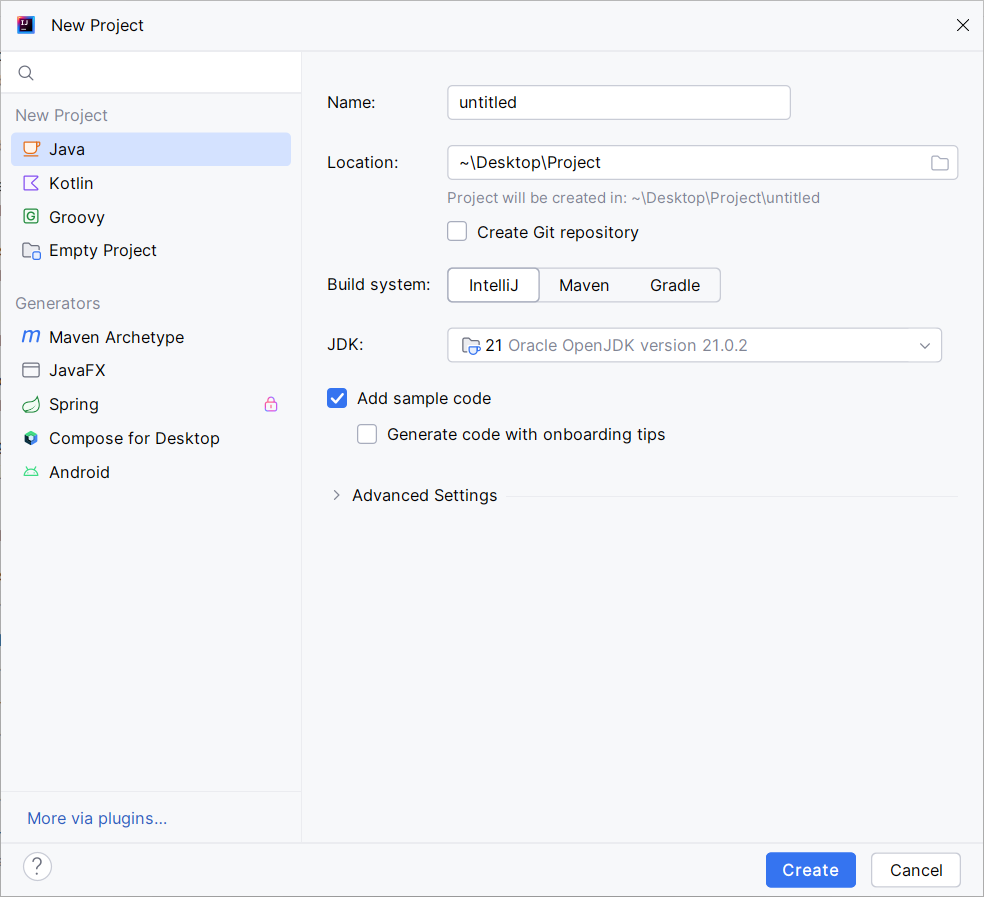
Specify Project Name and Location
Give your project a name (e.g., “HelloWorld”).
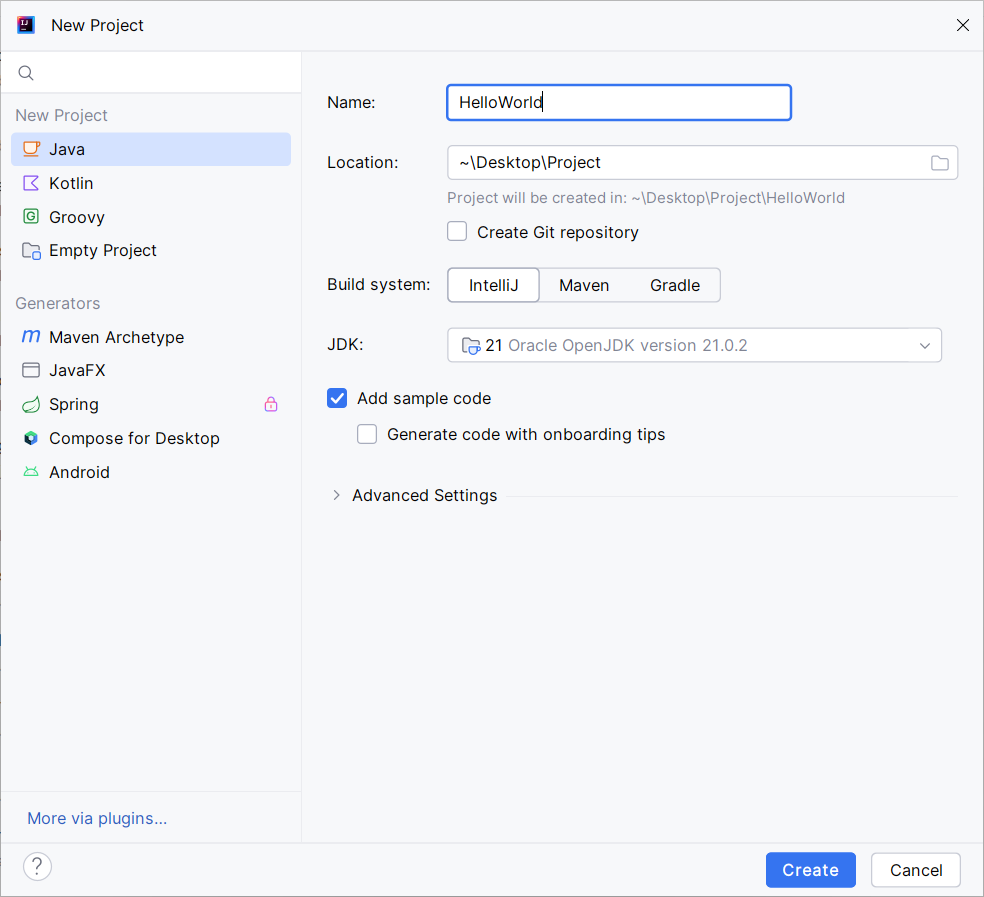
Choose a location for the project.
Click “Create.”
Create a New Java File/Class
If the Project window is not visible, press
Alt+1.Expand the project structure, and under “src,” right-click on the “src” folder.
Choose “New” > “Java File/Class.”
Name the file (e.g., “Main”) and click “OK.”
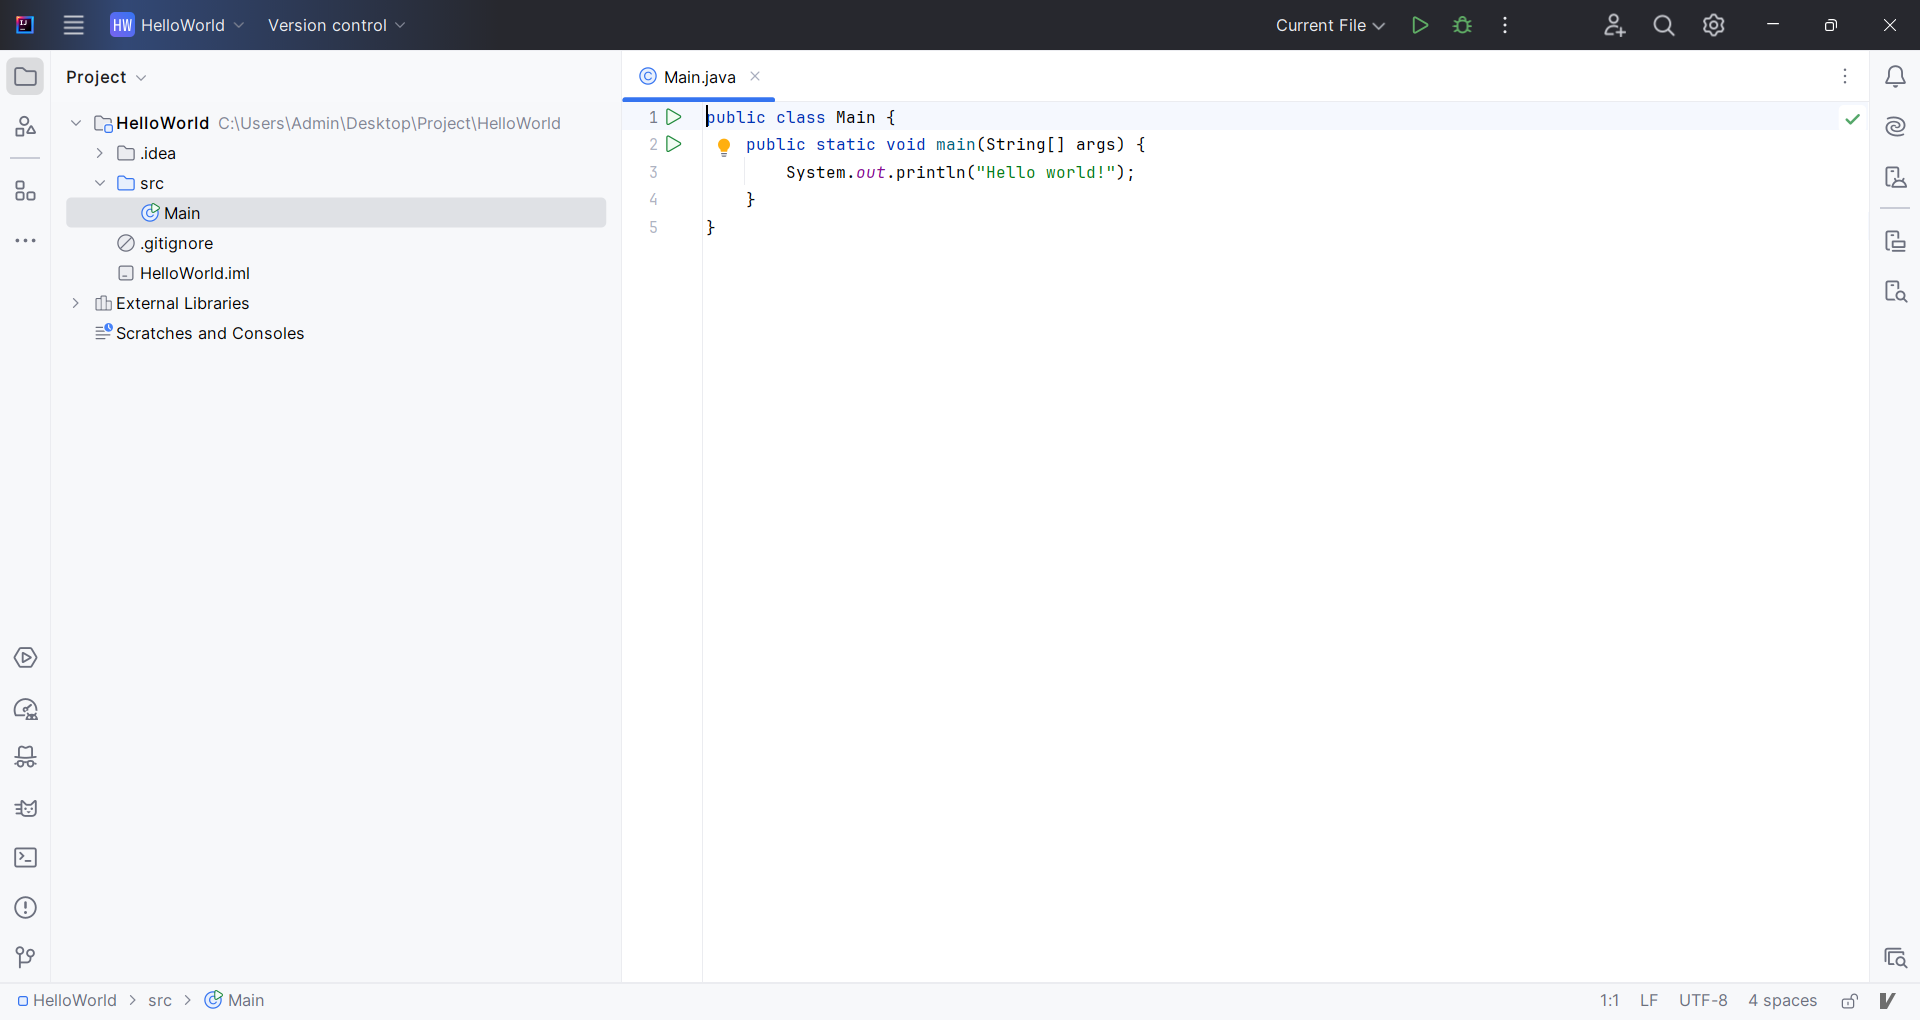
Write the Main Method in the Java File/Class
Inside the newly created Java file, write your main method:
package com.yourname;

public class Main {
    public static void main(String[] args) {
        System.out.println("Hello, world!");
    }
}
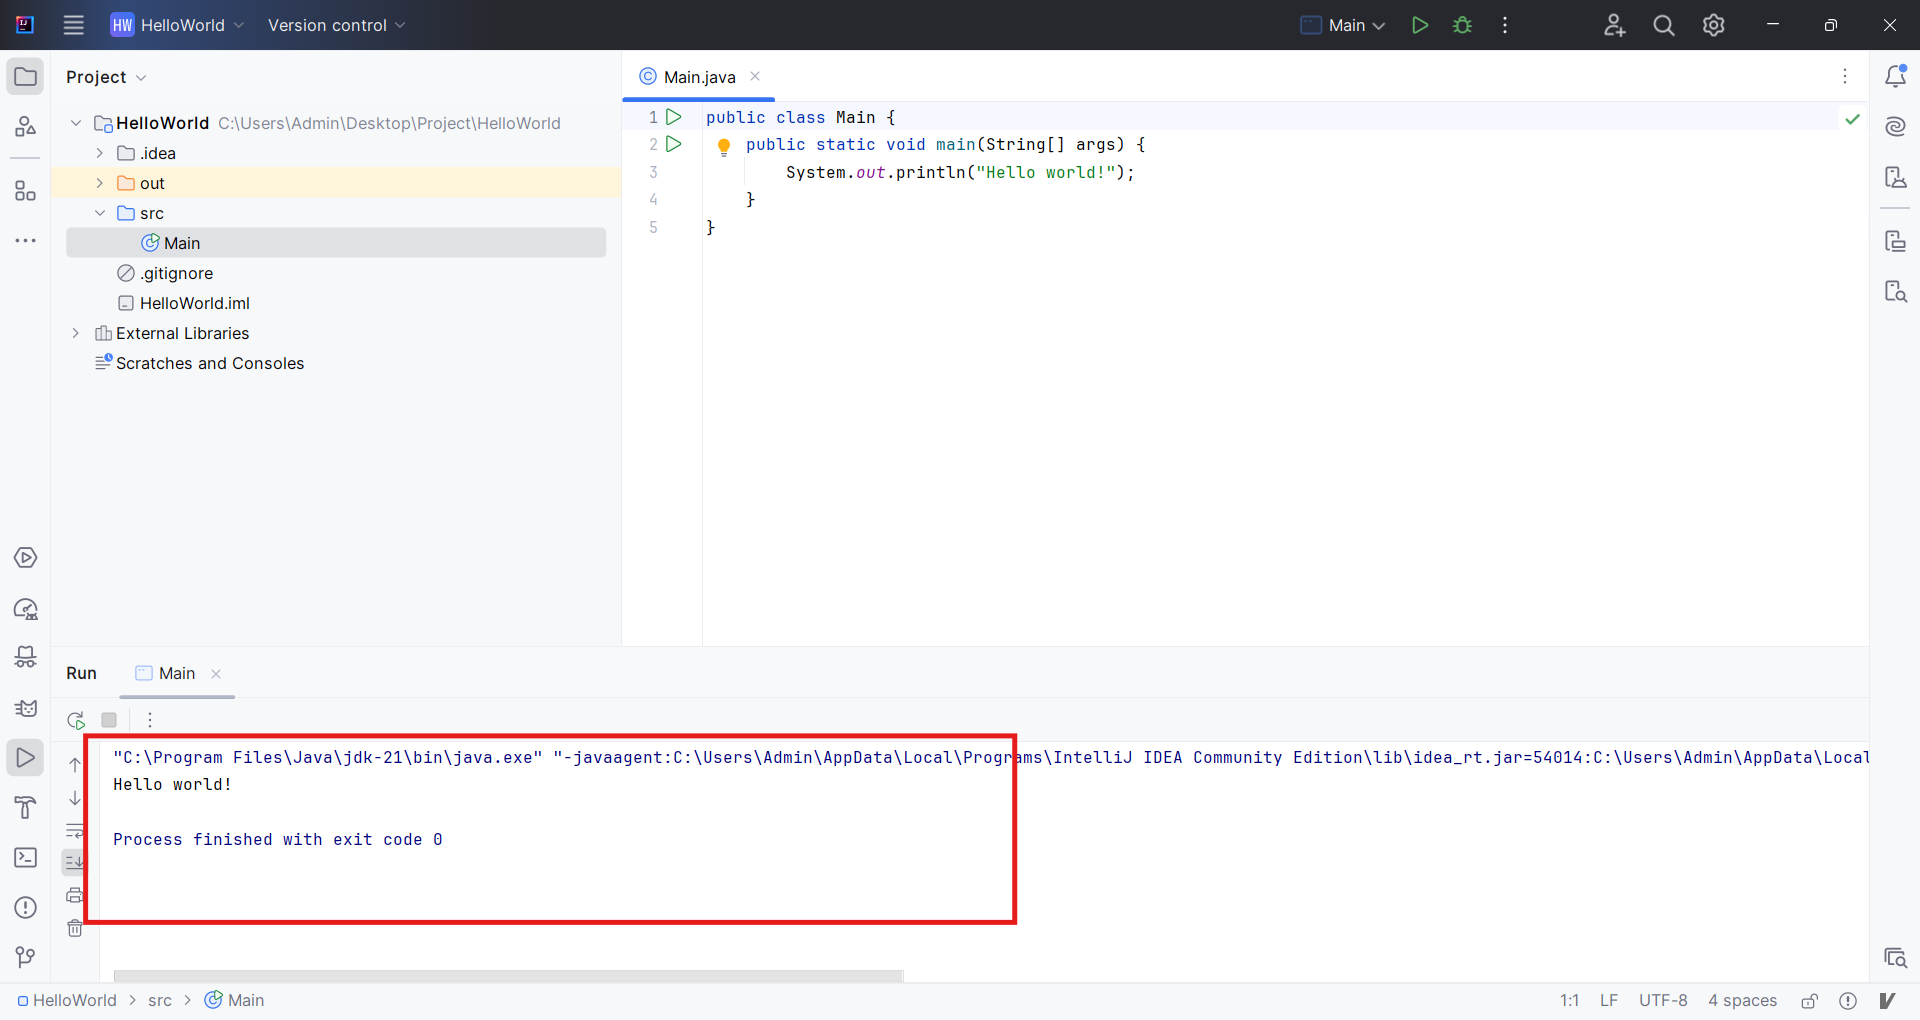
Run the Project
Click on the “Run” button in the toolbar or press
Ctrl+R(on Mac, it’sControl+R).IntelliJ IDEA will build your application, and you will see the “Hello, world!” message printed in the terminal window.
Conclusion
Congratulations! You've successfully written and executed your first Java program. This simple "Hello, world!" program is a great starting point for learning Java. As you progress, you'll learn more about Java's syntax, object-oriented programming, and how to build more complex applications. The Java tutorial page lists down all the important topics you can go through to get a deeper understanding of the language basics and advanced concepts.


